WordPress Blogging Instructions
Your website has been created using the WordPress web platform. In addition to being a powerhouse of a web platform, WordPress is user-friendly, requiring just basic word-processing skills to create and manage your blog. Below are step-by-step instructions on how to access your website and create a blog post.
Accessing Your Site
The website’s public URL look something like: http://yourwebsite.com.
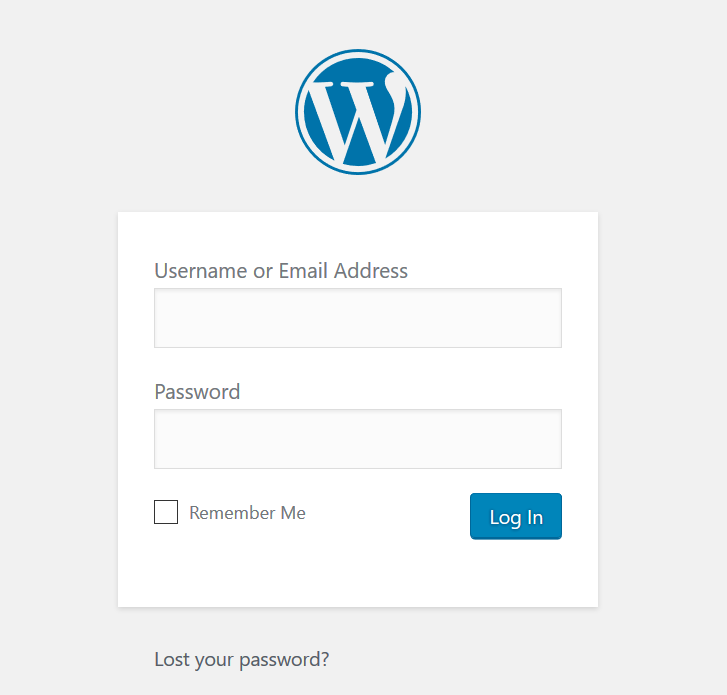
To create a blog post you will need to access the back-end of the site via a user login page. This is often the site URL with a login extension added: /wp-admin. The URL will look similar to this: http://yourwebsite.com/wp-admin.
Enter your username and password and click “Log In.” The WordPress Dashboard page appears.
Navigating the WP Dashboard
The Dashboard is the control and command center for your website. To create a blog post you will use two menu items in the Dashboard: “Posts” and “Media.”
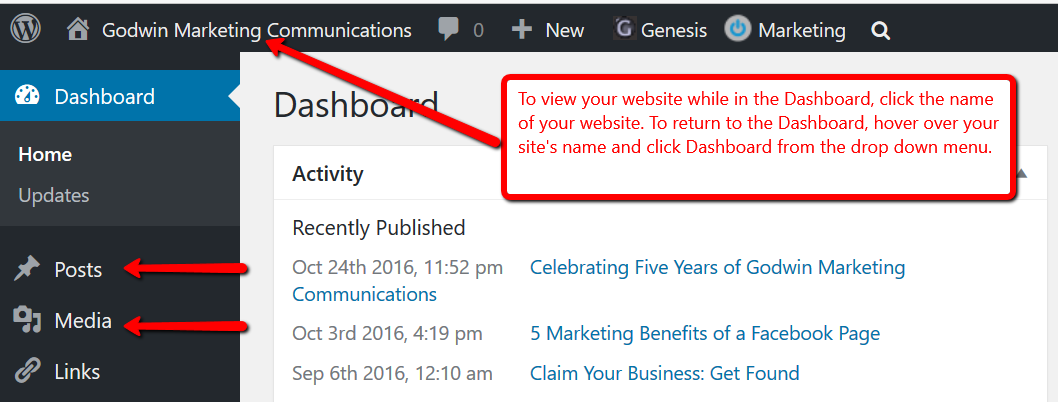
To view your site from the Dashboard, click your site’s name located at the top of the page (above the word “Dashboard”). To return to the Dashboard, hover over your site’s name and select “Dashboard” from the drop down menu.
Adding a New Blog Post
To add a new blog post, click on “Posts” and select “Add New.” Add a title for your post and proceed to the text box area. WordPress works like many word processing programs and many of the function icons are the similar in the word-processing tool bar.
You can “copy and paste” content from another source. Copying text from a Word document works best; copying content from web pages will often bring in unwanted formatting.
When creating a blog post, I find it helpful to save the post as a draft and preview it as I’m writing. This is done by using the “Save Draft” and “Preview” buttons (found on the right side of the content area). Posts that are saved as drafts are not “live” on the website.
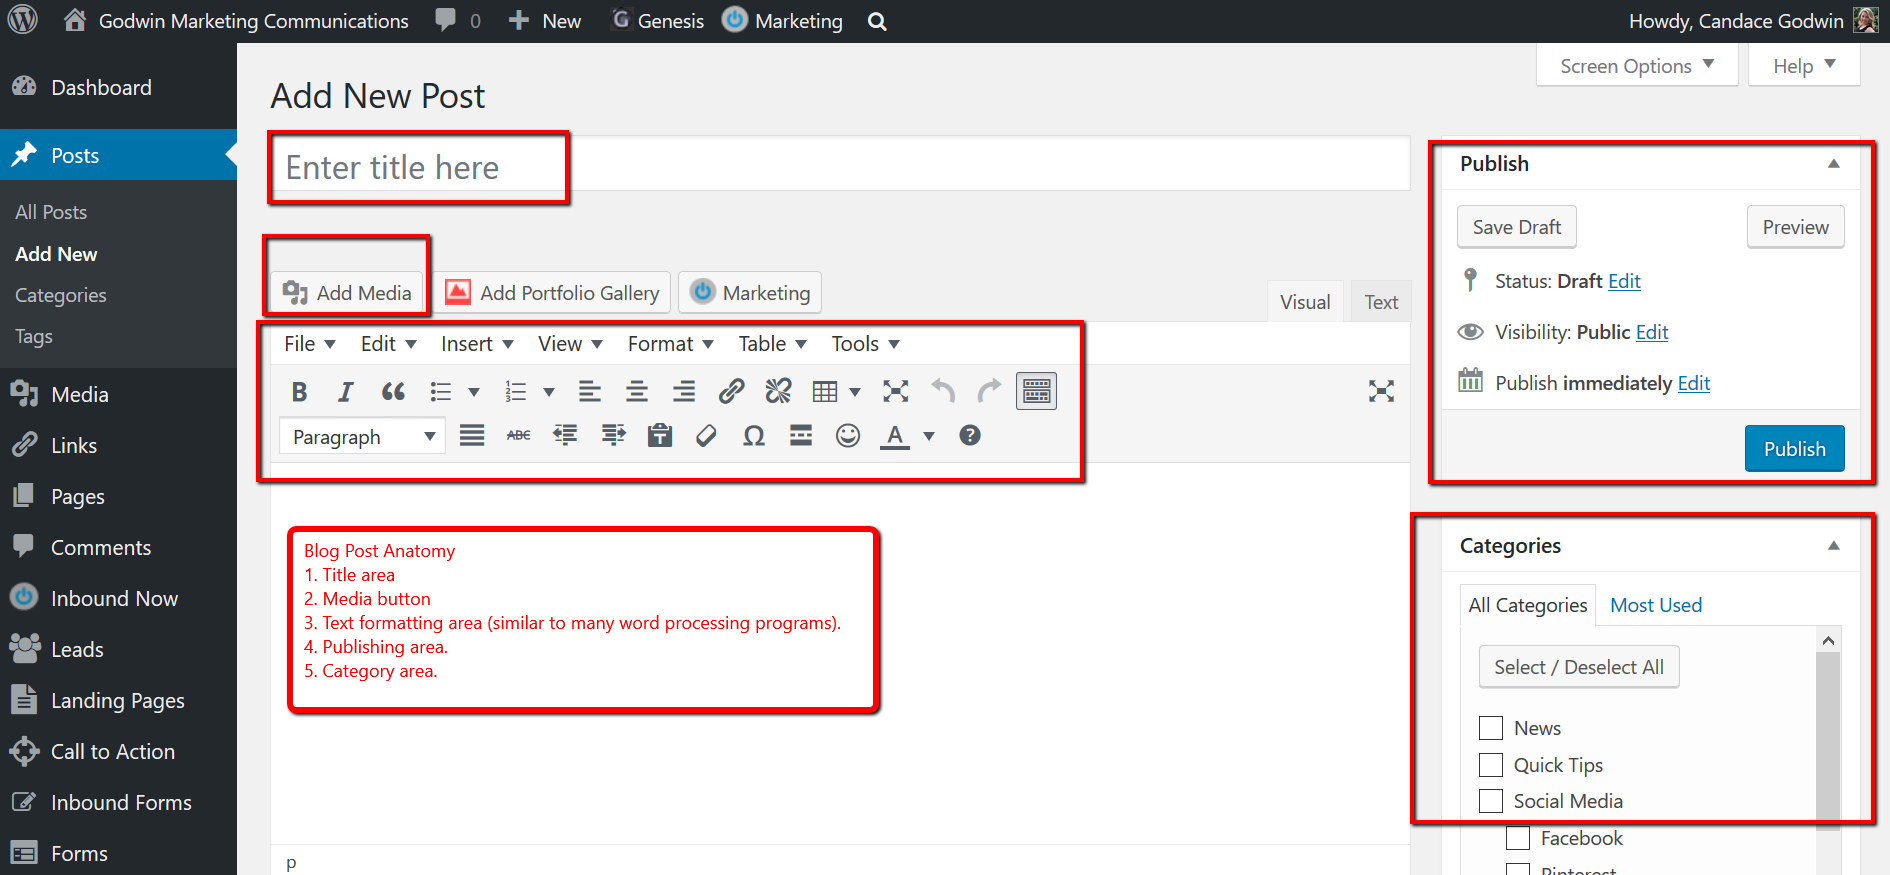
The screenshot below shows a new blog post page. From left, top to bottom, the highlighted areas include the Title area, Add Media button, word-processing toolbar, and the content area where you will create the post. On the right side is the Publish area and Categories area, described in more detail below.
Categories and Layout
When you have completed your post, select the category that your blog will 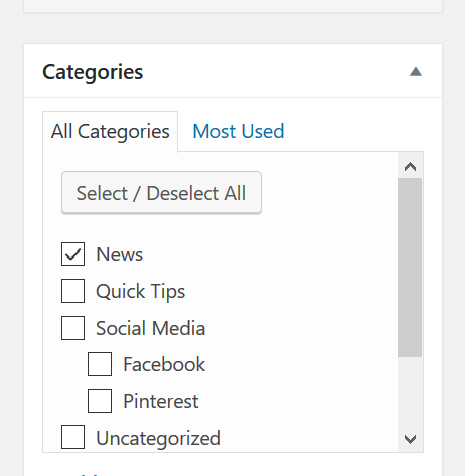 be filed under or displayed as. Categories are listed on the right side of the page.
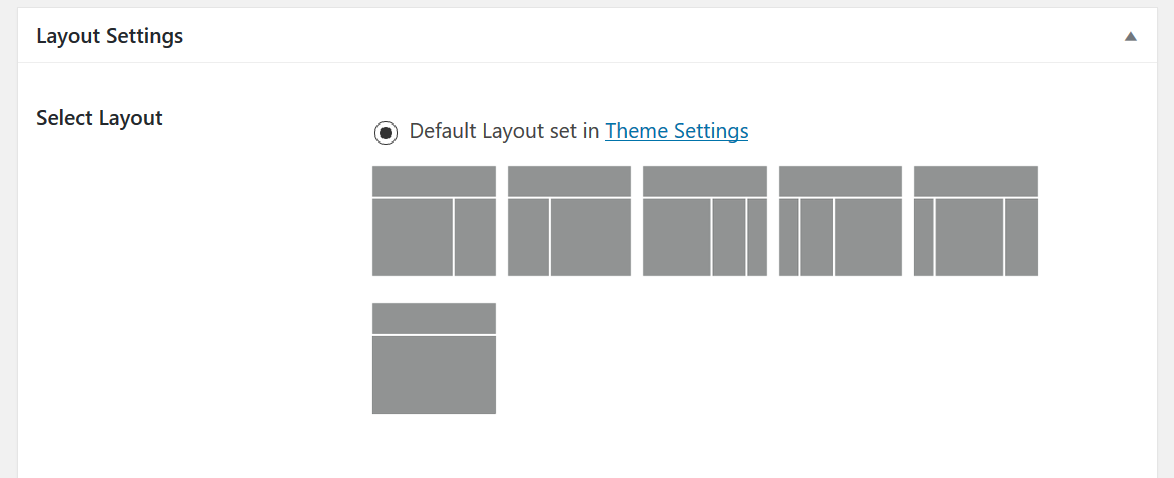
Depending on your site’s layout, you may need to adjust the Layout Settings to remove or add sidebars. Layout settings are located at the bottom of the blog post page.
Adding Media
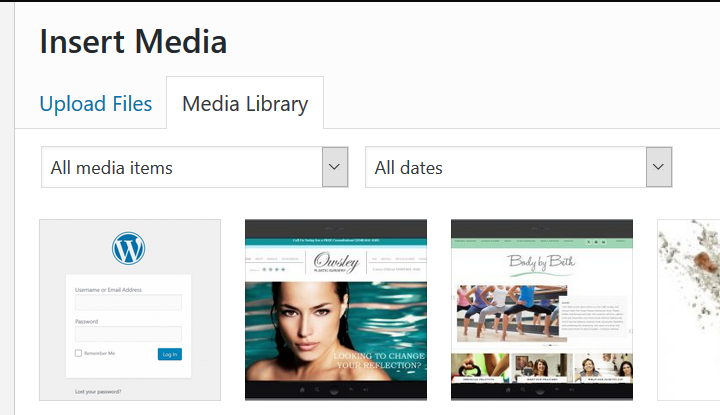
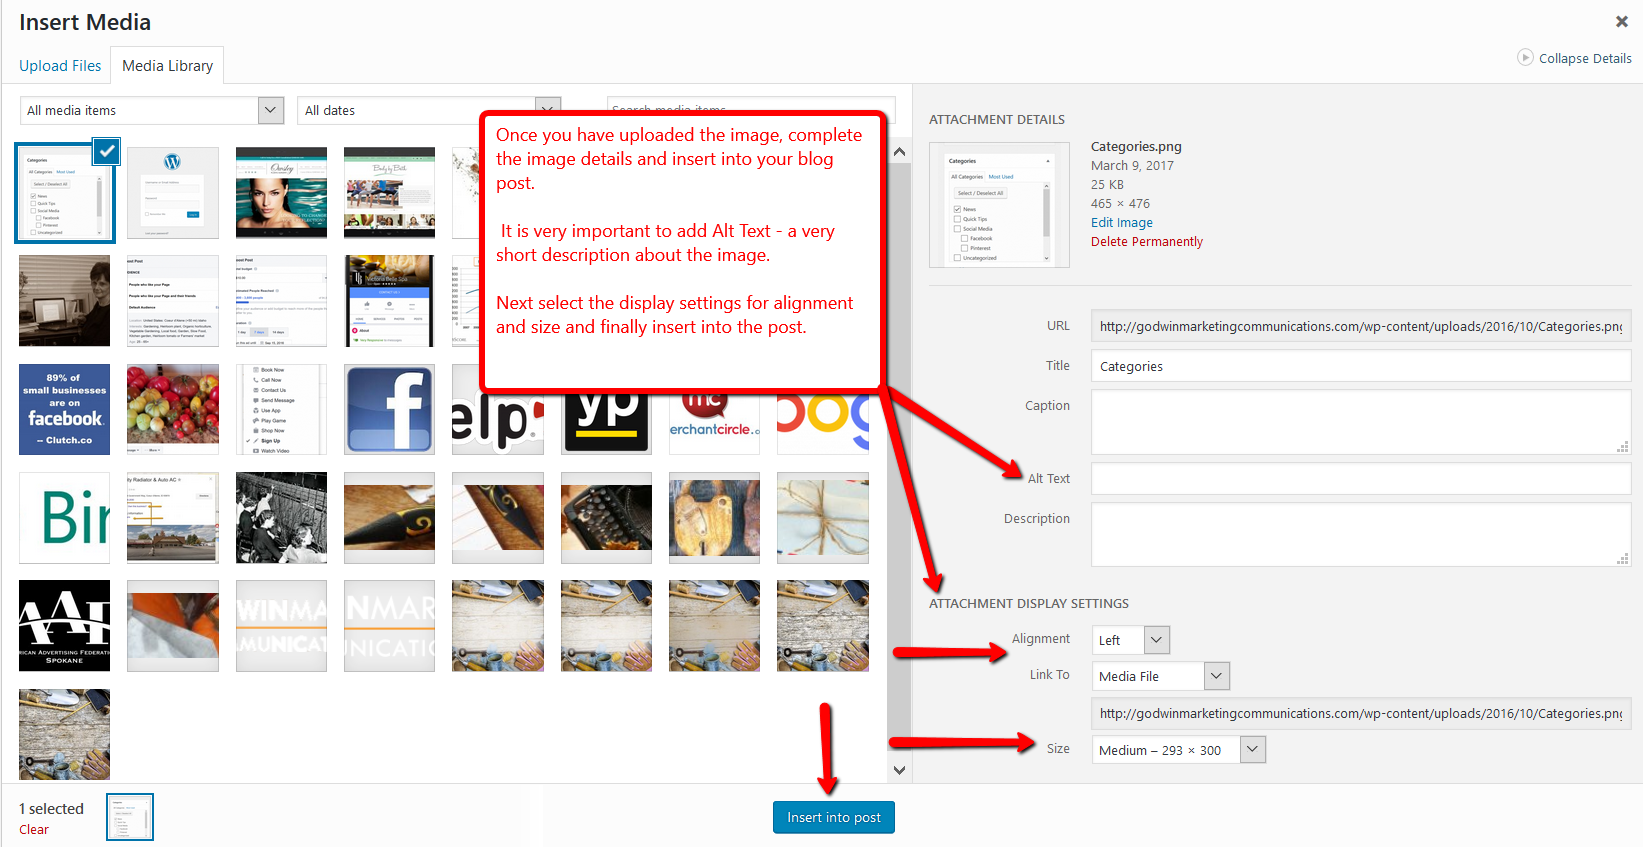
Media such as images, video, or PDF files can be added by by clicking the “Add Media” button. Media can be uploaded from your computer or selected from the “Media Library.” Once media is uploaded, it is stored in the Media Library.
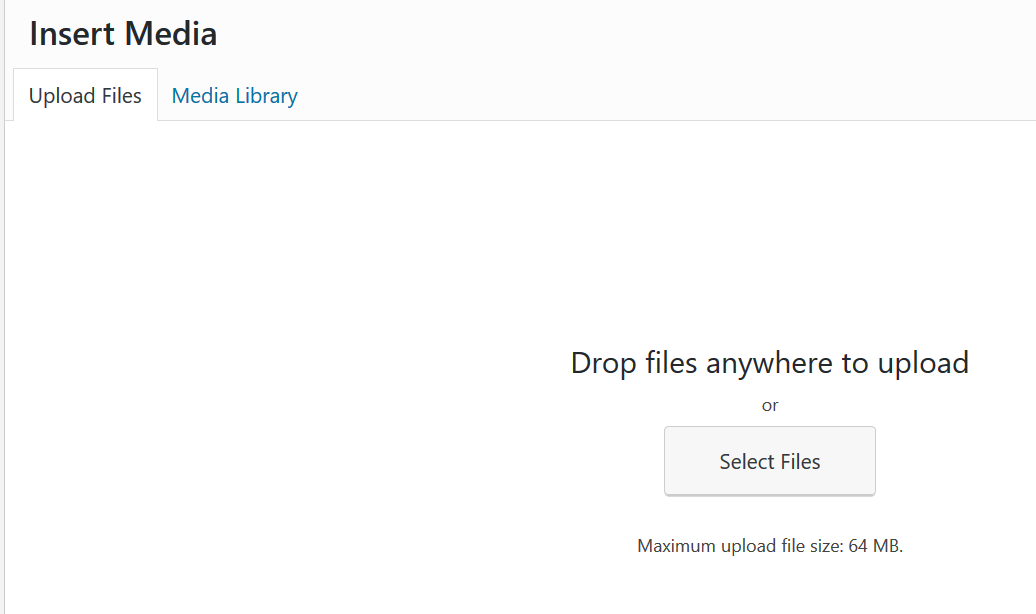
Once media is uploaded, complete the media details section — it’s important to add a short description of the image/media in the Alt-Tag section. Select the alignment and size of the image and then click “insert into post” to add the media to your blog post.
Publishing
After carefully proof-reading and previewing the post will be ready to be published. Posts can be saved as a draft to be completed at a later date or published. To publish a post click the “Publish” button. The post will now be live on the website.
Posts can be updated or edited after publishing by navigating back to “Posts” in the Dashboard and selecting the post to edit. Once completed, click on the “Update” button located in the Publish content area.
Congratulations! You have just published a blog post on your WordPress website.